How to install a WordPress plugin
WordPress offers us a lot of customization options, but it’s possible that we have some needs that the application can’t solve. To help us in this kind of situations, WordPress lets us install Plugins, who allow us to easily add new functionalities to the application.
Let’s see how to install this plugins, both automatically and manually.
Automatically installing a plugin
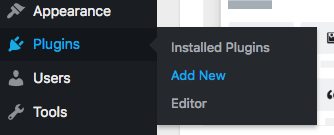
To install plugin automatically, we need to go to the WordPress admin area. Once inside, we will click on Plugins” - “Add New
On the next screen, we can see the Featured Plugins, and on the top right we will find a search bar, where we will search the plugin that we want to install. In this example, we will install the famous plugin contact form 7.
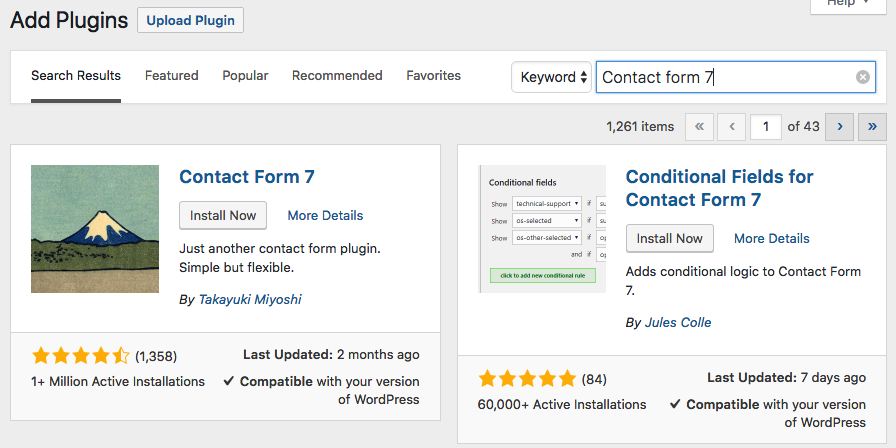
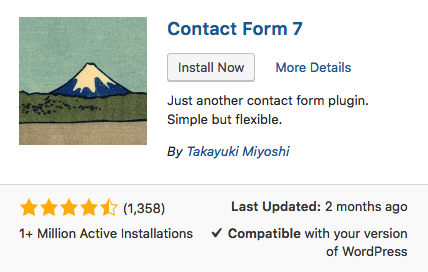
To install it we will click on Install now
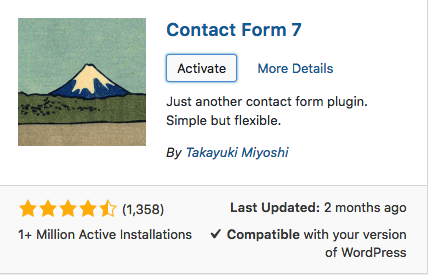
Now, we will click on Activate
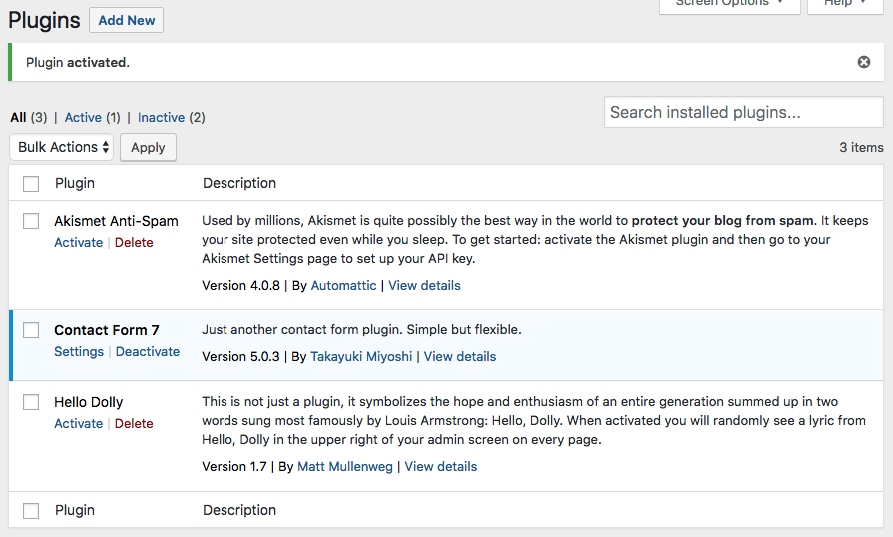
If we have done the process correctly, WordPress will show us the installed plugins screen, where we will see our plugin ready to be used.
Manually installing a plugin
Once we have seen how to install it automatically, let’s see how to install plugin manually, this is because some plugins are not available at the WordPress plugin repository, for example, plugins that we've bought on plugin marketplaces like codecanyon.net or similar.
To do it, we first need to download the plugin, we will use contact form 7 again. This plugin comes in ZIP format.
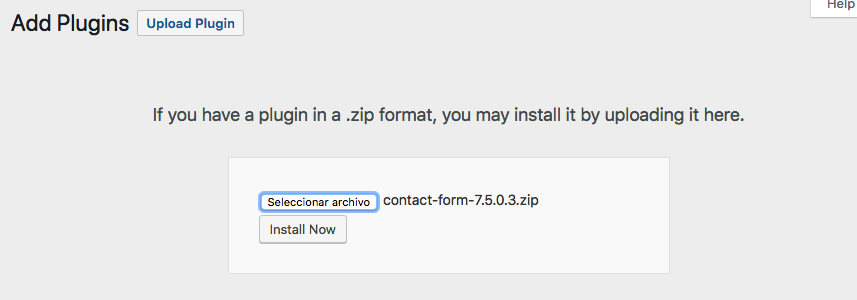
When we have our plugin downloaded, we will follow the same steps for the automatic installation Plugins - Add New, but this time, we will click on Upload Plugin button.

And we will select our plugin from our computer.
To finish, we will click on Install now and Activate plugin
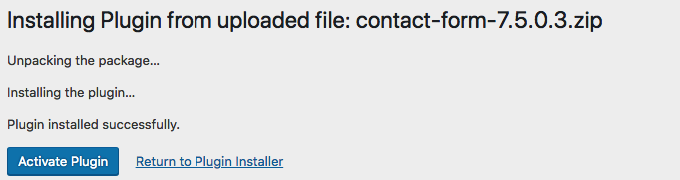
And that’s all, we have our plugin installed and ready to use.
Do you need help?
Our support team will be happy to help you with any questions you may have before you take your first step into the digital world.
Where to start?
The first step for your new project is to search for an available domain.
Search domains