


WordPress: Disable plugins/themes via FTP
Sometimes your WordPress can stop working after installing a new plugin or theme, updating WordPress, doing configuration modifications, etc. and this may cause being unable to access the management area to revert those changes.
It this happens it is helpful to know how to disable the plugins and themes via FTP as most of the times this change will be enough to restore the access to the management panel.
Step 1. Access via FTP
We will use our WebFTP tool, available on your hosting options. But you can do it with other FTP clients.
Log into your MrDomain customer area and go to the hosting management panel (Hosting > My plans and click to the hosting we want access) and go to the FTP Accounts tab.
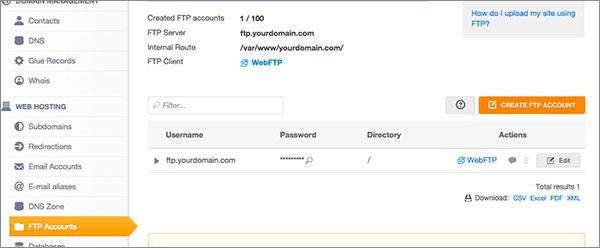
Now click on WebFTP and will access to manage your files.
Step 2. Disable plugins/themes
Once inside the FTP go to the folder where you have installed WordPress (by default is the public folder) and, into it, open the wp-content folder. Now you will see some files and folders, you will edit the plugins and themes folders.
Disable plugins
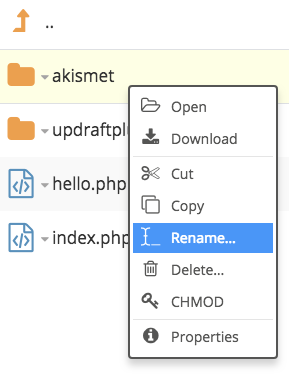
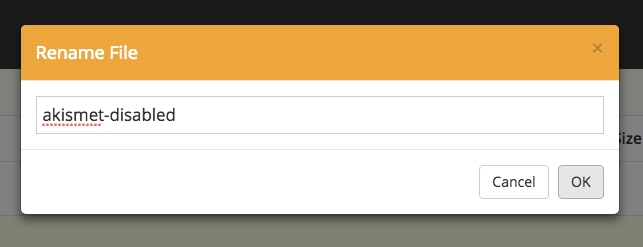
To disable the plugins enter into the plugins folder and rename all folders. Example: we will add -disabled at the end of the name.
To rename the plugins do a right click over the folder, choose rename and modify the name adding -disabled as we told before. After that click the OK button to save the change.
Disable themes
If you want to disable a specific theme you have to do the same steps to disable plugins but instead of accessing the plugins folder you'll have to go to the themes folder.