How to install a WordPress theme
What is a WordPress theme?
A theme is a set of files of style, functions, etc... that allows us to modify the appearance of our website. There are many themes, free or premium, simple or complex.... Based on our requirements, we can find the perfect theme for our WordPess.
What do I need to install a theme?
To install a theme we just need that the chosen theme is compatible with the WordPress version that we are using. Regarding this, it is important to have WordPress updated to the last version and search for themes that has been updated recently, ergo, don't use themes that has not been updated in moths.
On the other side, if the theme is not on the WordPress repository, or the theme is so heavy and we can't upload it from the WordPress admin because it give us an error message, we will need to have access to the FTP server of our hosting.
How to install a theme from the WordPress administration?
To install the theme, first thing that we must do is go to the admin area of our WordPress. Once we are in the admin area, we will move to Appearance - Themes
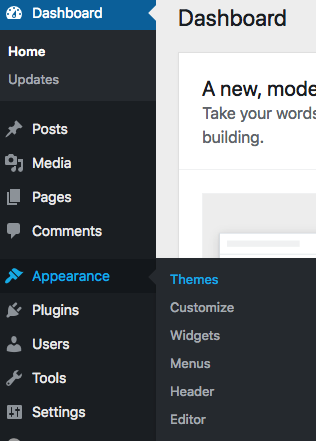
Next step it's to click on Add new

On the next screen we can explore different themes divided in categories like: Featured, Popular, Latest, etc... and also, we have a search bar to manually search themes.
In this example, we will use the Sydney theme. To install it, simply put your mouse on it and the Install, button will appear and we will click on it.
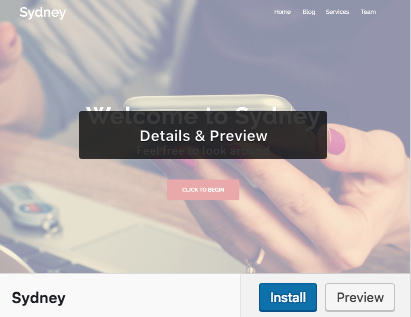
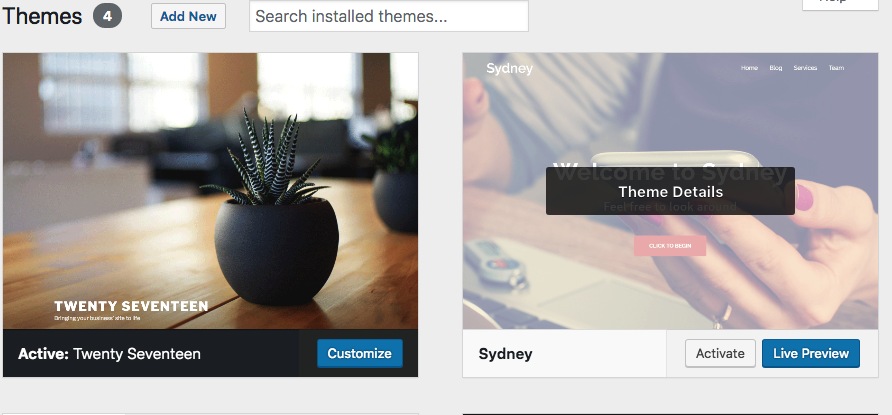
Once the installation is finished, the install button will change to Activate and when we click on it, the theme will be ready to use.
How to manually install a theme?
Additionally, a theme can be installed manually, for example, if it's a payed one that we have downloaded from the autor website. This operation can be done in two different ways:
- From WordPress
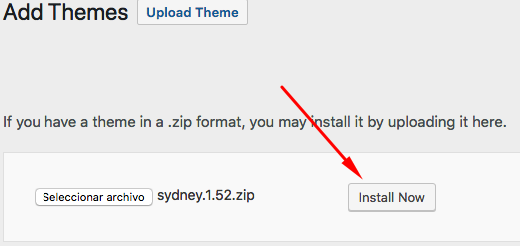
To do it, access to from the Admin area and then to Appearance - Themes - Add New. There you will see the Upload Theme option.
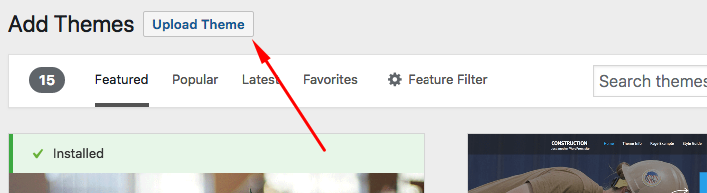
We must select the theme previously downloaded from the creators website and click on Install now. It's important at this point to select the .zip file that we have downloaded.
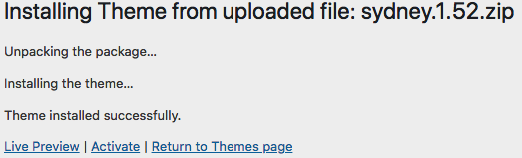
To activate it, simply click on Activate in the message that appears after the installation.
- Manually through FTP
This kind of installation will help us when the installation through WordPress give us an error message.
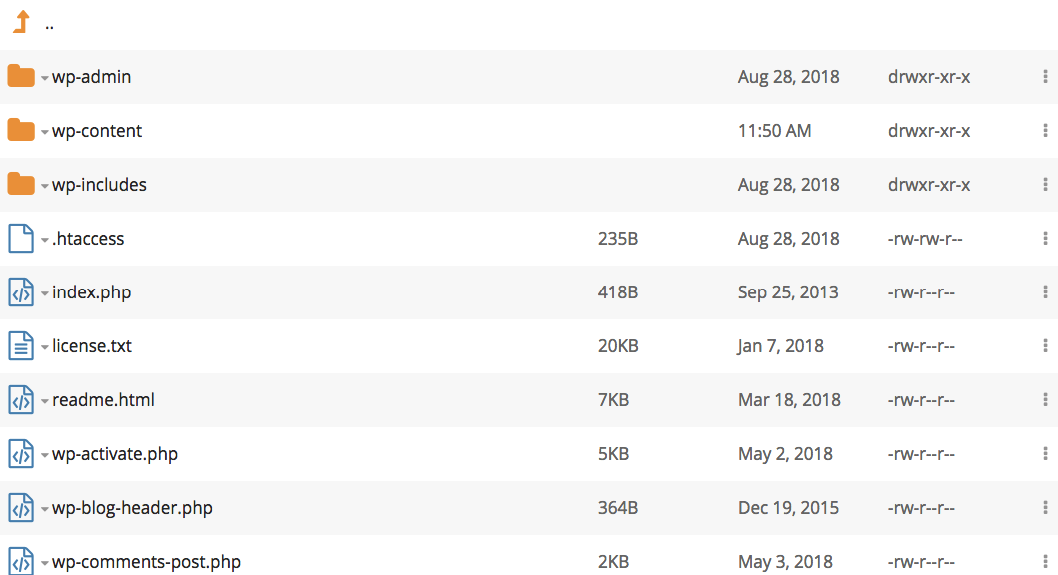
To do it, we need a FTP client like FileZilla, WebFTP... to access to the FTP of our hosting. Once in, we will search the folder where we have our WordPress installed (by default if you have installed it to www.yourdomain.com it will be /public/). Inside of this folder we will see some sub-folders and files like these on the next screen:
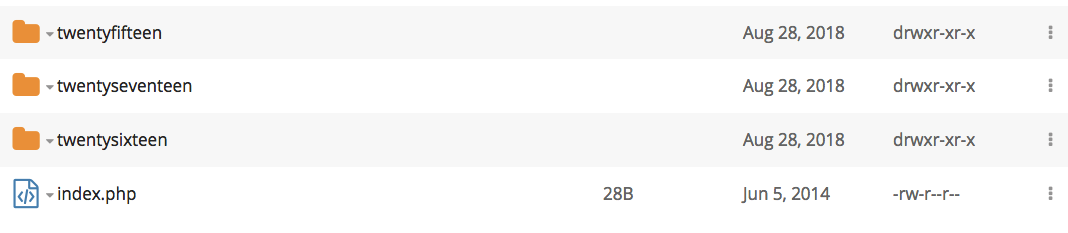
To upload the theme, we must go to the folder /wp-content/ where we can see the sub folder /themes/ with the themes that we have installed on our WordPress
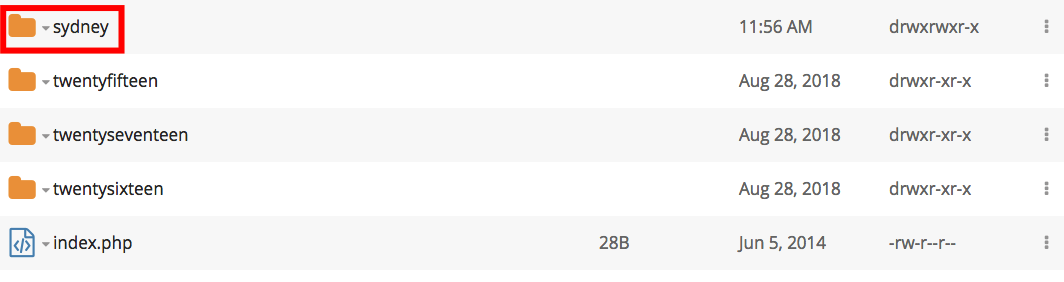
To complete the process, we will upload and decompress the .zip file of our theme. Once done, our folder will look similar to this one:
Finally, we will go back to the admin area of our WordPress, there we will see that on the themes tab the theme that we've uploaded. Now we only need to activate it by moving our mouse on it and clicking on Activate" button.