What can i do from my hosting control panel?
Our control panel will allow you to obtain information about the hosting, like the status of it and to do some modifications like create subdomains, or redirects, create FTP accounts, etc…
How can i access to my control panel?
To access to the control panel you need to log in your customer area. Once in, go to Hosting - My Plans.
 You will see a list of your domains and his associated plans.
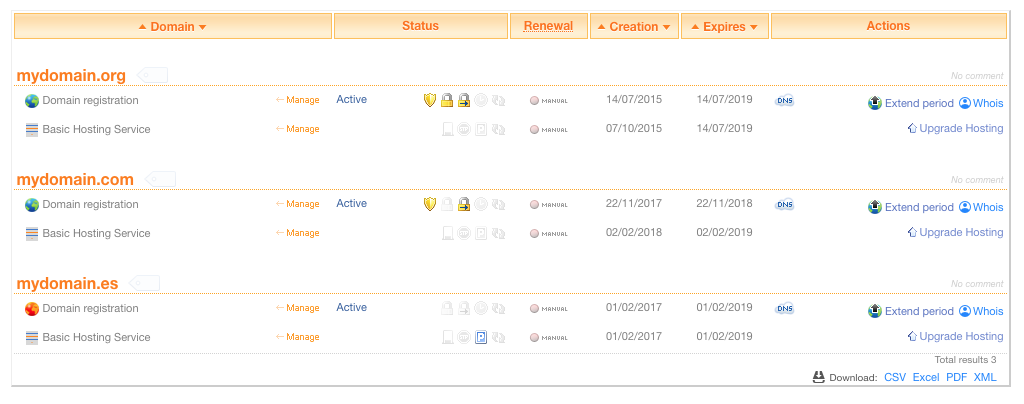 Just do a click on the domain associated to the hosting that you want to manage and you will access to the control panel.
Sections of the control panel
The control panel are divided in the next sections: Web hosting”, “Subdomains”, “Redirections”, “Email Accounts”, “E-mail Aliases”, “DNS Zone”, “FTP Accounts”, “Databases”, “Parking Page”, “Applications”, “Web Constructor”, “Bandwith”, “SSL Certificates” and “Advanced. Let’s see all of them:
WEB HOSTING
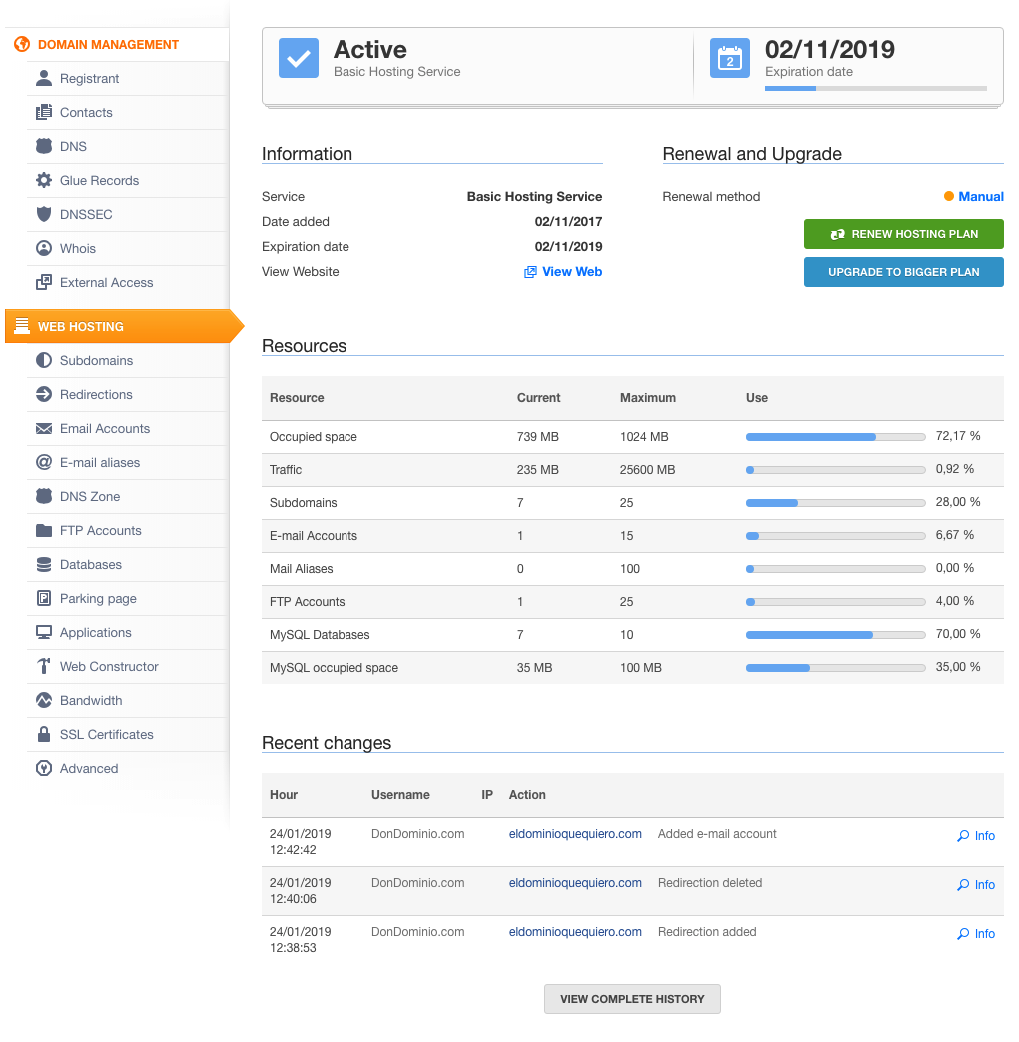
First of all that we can see here is the status of our hosting and his expiration date.
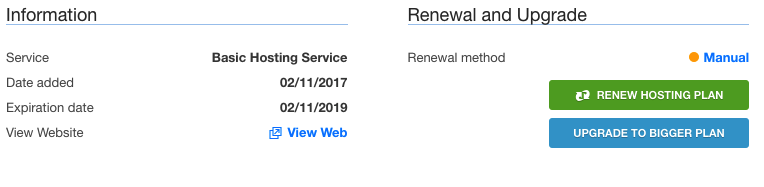
 Next we can see the Information section and the Renewal and Upgrade section. In this sections we can see the kind of hosting that we have, the date added, the expiration date and a link to our website. Additionally we will see the renewal method (Automatic or Manual) and the buttons to renew and upgrade.
Remember that the automatic renewal it’s only possible to do with balance on your account.
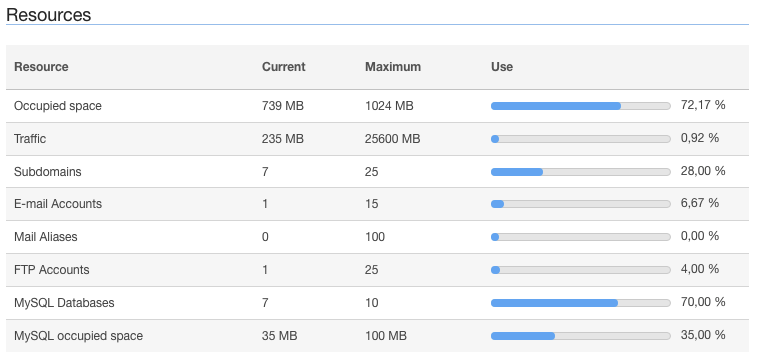
 In this same section we will found the Resources table where we will see the actual status of our resources like Occupied space, Traffic, etc..
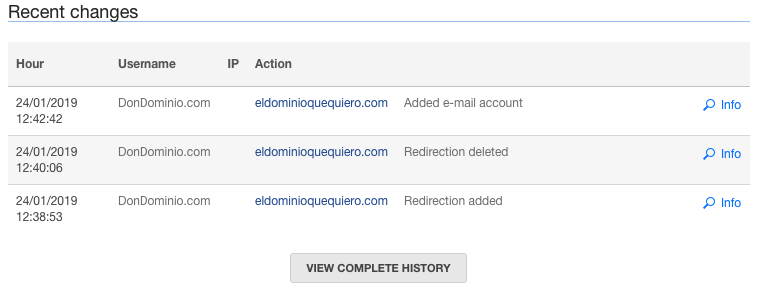
 Finally we will find the Recent changes table where we can see the las changes done on the hosting and a button called View Complete History where we can see the changes done from the date where the service was added.
SUBDOMAINS
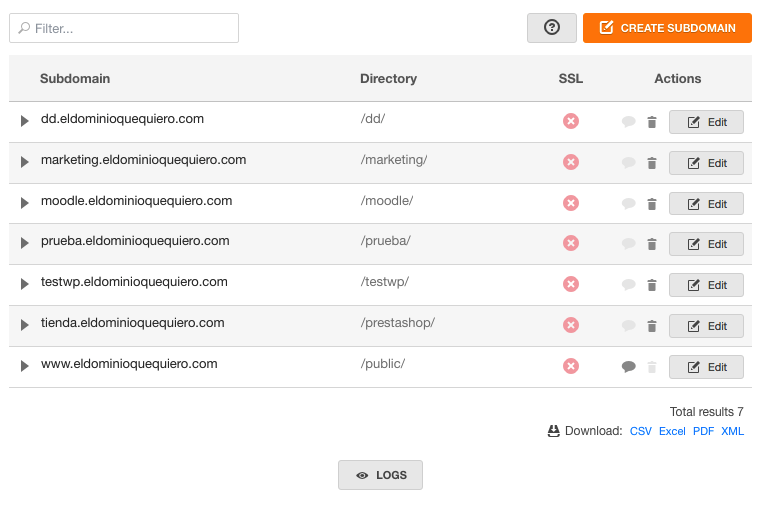
In this section we will see a summary of all the subdomains that we have, and to the folder that the are pointing.
Additionally, we can create new subdomains with the button Create subdomain, also if we click on "Edit" we will be able to activate our SSL for that subdomain.
As a curiosity, in the “Subdomains” section we can find the “LOGS” button, where we can see the error and access LOG.
REDIRECTIONS
It is a very simple section that will allow us to manage our redirects, see them, edit them or create new ones.

EMAIL ACCOUNTS
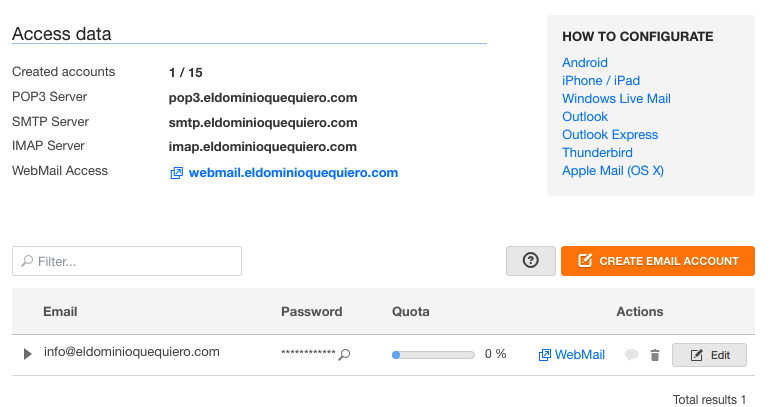
If we do not have an email account created, in this section we will see a central button called "Create email account".
 On the other hand, if we already have mail accounts, we can edit them, access them through our webmail or create other accounts.
In addition, we will have links to different help for the configuration of the account in different mail clients.
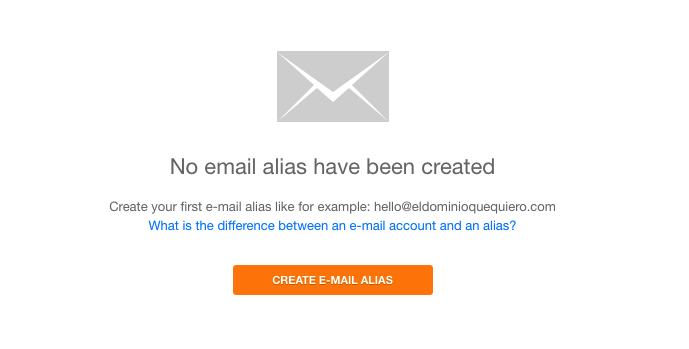
E-MAIL ALIASES
Mail aliases are what we commonly refer to as mail forwarding.
These are accounts without a mailbox, whose only function is to forward the mail they receive to another address.
From this section we can simply create or delete them, because they do not allow another type of configuration.
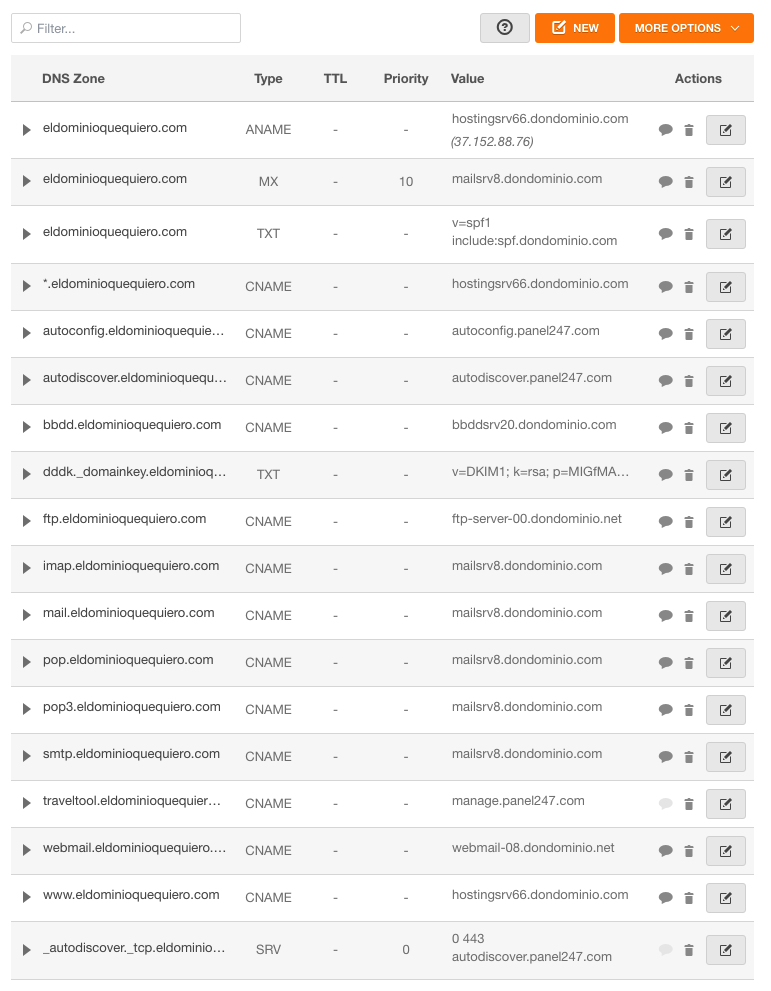
DNS ZONE
The DNS zone allows us to create records or modify existing ones, to configure our services to our liking. You can create A record, CNAME record, TXT, etc.
This will allow us for example to use an external mail service or to point the domain to our VPS, etc…
You have a more specific help here
On the other hand, from "More options"you can restore or delete the entire zone.
FTP ACCOUNTS
Section, as its name says, dedicated to FTP.
From here we can see the FTP account by default, edit it, create a new account and even access FTP via web through webFTP.
We also have a link to the help on how to upload our website and we can see the access data to use in FTP desktop clients like Filezilla.

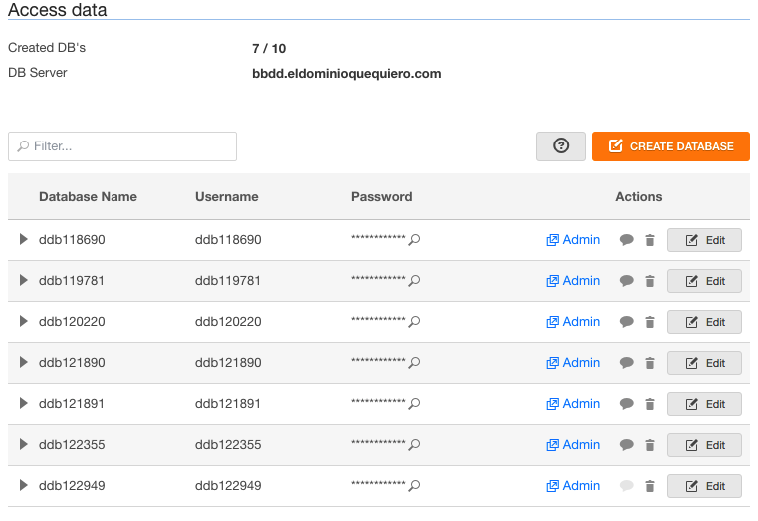
DATABASES
The databases are where most of the information of our website is stored, such as the users that we have created and their privileges, the products we have if it is a store, the posts of our blog, etc.
That is why this section is very important, because it will allow us to manage everything related to them, from creating or editing them, to exploring and managing them.
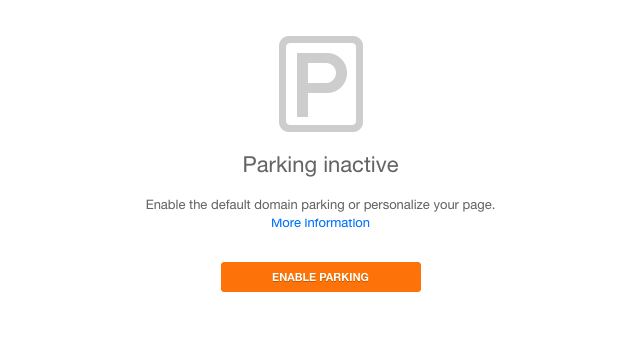
PARKING PAGE
The parking page will allow us to show a static website while we have not made our final website or simply if all we want is to show a simple page of information and contact.
We can, from this section, activate and deactivate it whenever we want, in addition to accessing its edition.
APPLICATIONS
Our panel has an auto installer of applications to get us more comfortable installing them and we do not need very high computer skills.
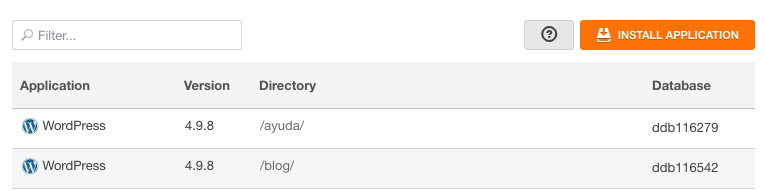
In addition to installing them from "Install application", we can see a list of the applications already installed, specifying the directory and associated database.
As an example, you can see how to install wordpress from here
WEB CONSTRUCTOR
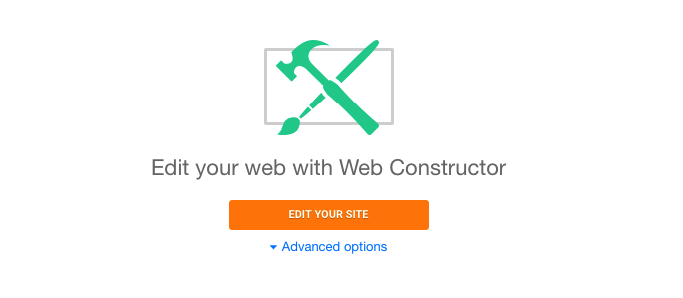
In addition to the application installer, our hosting plans have Web Constructor, a simple web editor and very capable to develop your own web in a simple way.
Here you can access it.
You have a help for the first steps here
BANDWITH
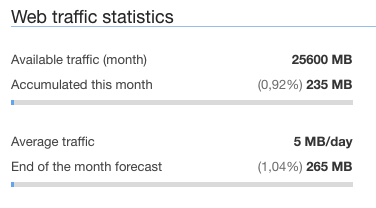
As its name indicates, this section will allow us to see information about web traffic.
We have a section of monthly traffic and an average traffic.
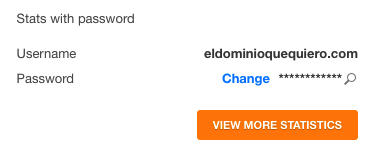
 On the other hand we have the access data to the complete statistics panel.
 And finally a graph of monthly statistics.
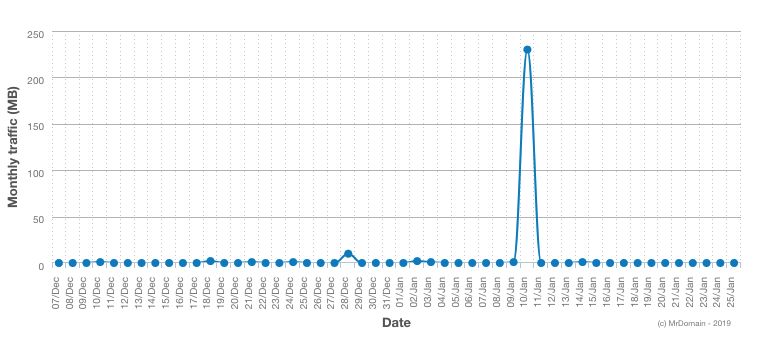 Remember that these statistics are reset monthly.
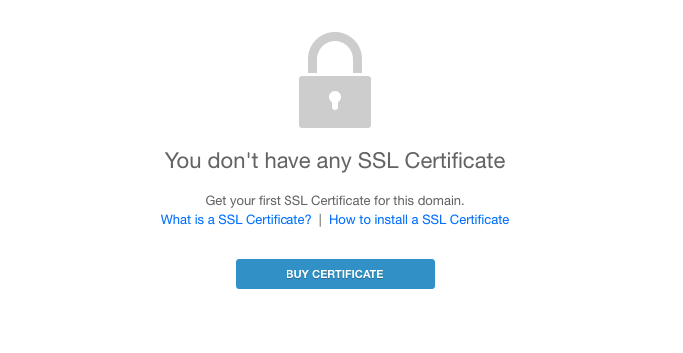
SSL CERTIFICATES
The panel also allows us to manage the SSL that we have available for the domain associated with the hosting.
If we do not have a certificate we can buy it and in case of having it, we can click on "Install", which will take us to the "Subdomains" section where we can edit the subdomain to add the SSL certificate.
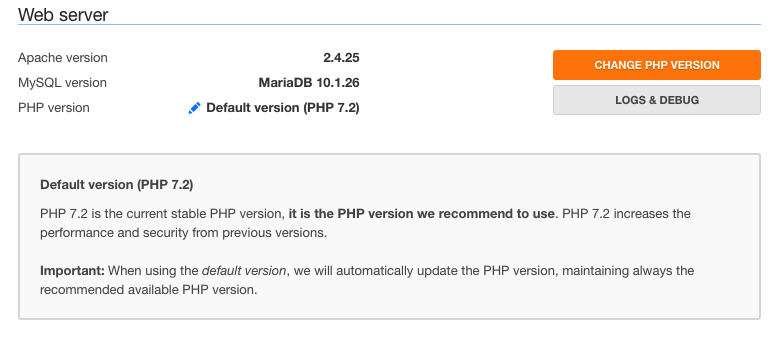
ADVANCED
This section is the most complex of the hosting because it allows us to make several actions on the hosting.
On one hand we can see the versions we use of Apache, MySQL and PHP, but also, we can change the PHP version of the hosting and see the LOGS.
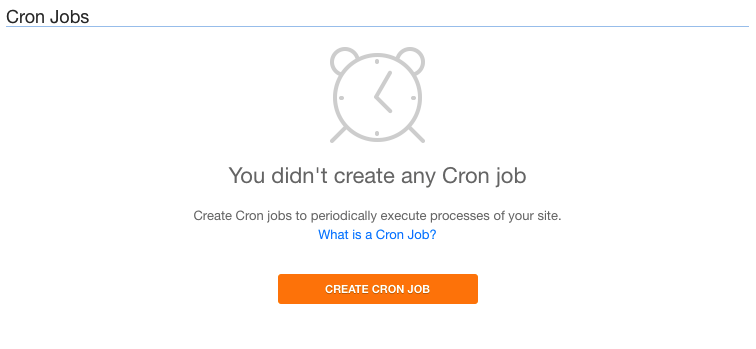
 Finally, it will allow us to create cron tasks. The cron tasks are those tasks that we want to run automatically from time to time, for example, consult the stock of products, make a backup, etc.
To do this we just have to click on "Create cron task" and configure it.