


WordPress: Manual installation
Requirements to do a manual installation
In order to do a WordPress manual installation you will need a hosting with enough web space, databases and PHP. You can check our web hosting plans that support WordPress from here.
You will also need FTP access, using any web/desktop FTP application as Filezilla, CuteFTP, etc. and download WordPress from the wordpress.org website.
Finally you will need a database where install your WordPress. You can create a database following this guide.
Downloading WordPress from wordpress.org
You can download WordPress from their official website wordpress.org, clicking the Get WordPress button. You can also follow this direct link to download it.
Once downloaded you will have a .zip folder, unzip it and a new folder will be generated with all WordPress files and folders. Now you will have the WordPress ready to be uploaded.
Uploading WordPress via FTP
You can upload WordPress to your hosting following this guide.
If you are installing WordPress on your domain, all the files that are in the WordPress folder downloaded before must be uploaded into the /public/ folder. If you upload the “wordpress” directory directly the route will be /public/wordpress/ so you will see your web from yourdomain.com/wordpress/ instead of yourdomain.com
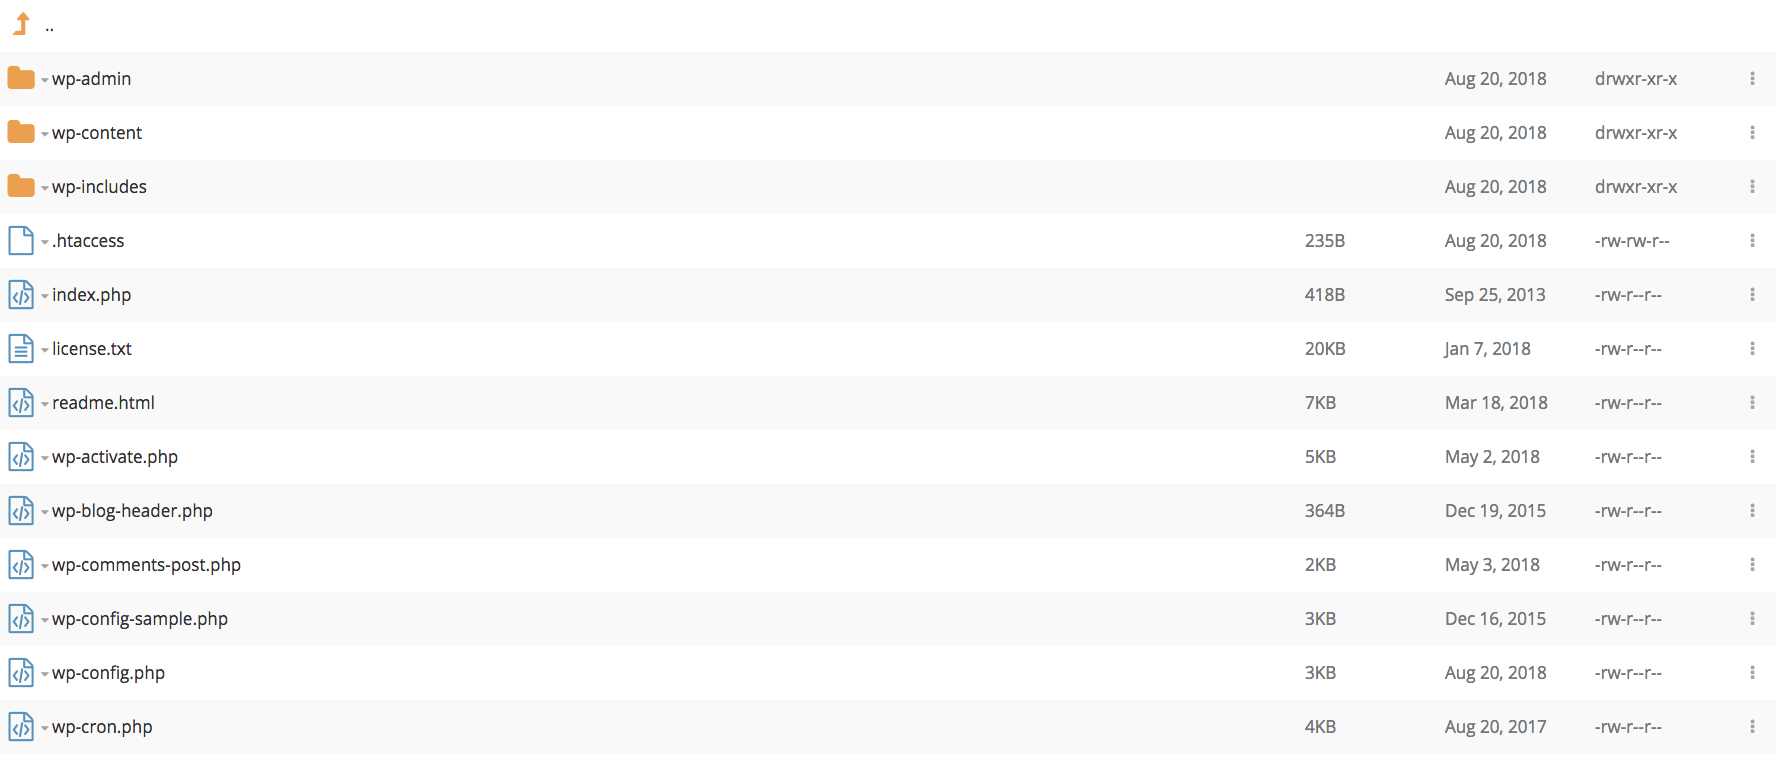
After upload WordPress you will see a files and folders list.
How to install WordPress?
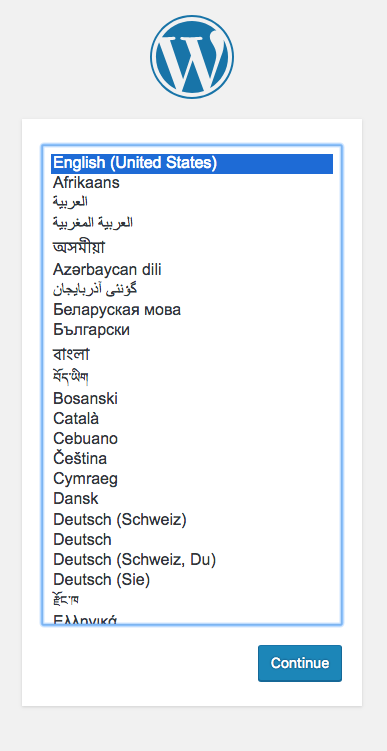
Now it’s time to start the WordPress installation, to do that you have open your browser and go to your domain, the WordPress installer will be launched by default. The first step is select your language and click Continue.
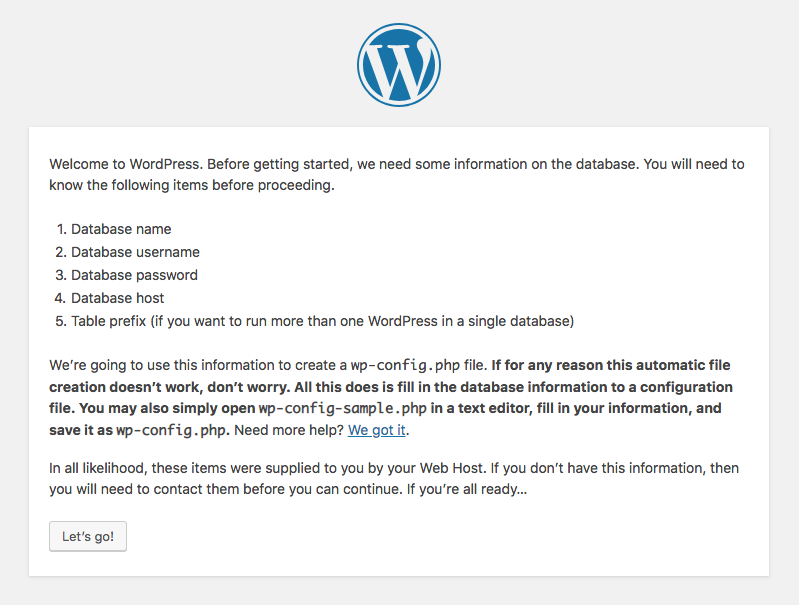
After select your language the installer will appear, click on “Let’s go!” to start.
The first step to install WordPress is to setup your database information. You can find the database information into the “Databases” tab in your hosting management area. If you haven't created any database yet you can do see how to do it from here.
The fields Database Name and Username must be filled with the database name (they are the same). The Password field is for the database password and the Database Host always will be bbdd.yourdomain.com (changing yourdomain.com with the name of your domain), finally the Table Prefix appears filled with “wp_”, it can be changed if you want.
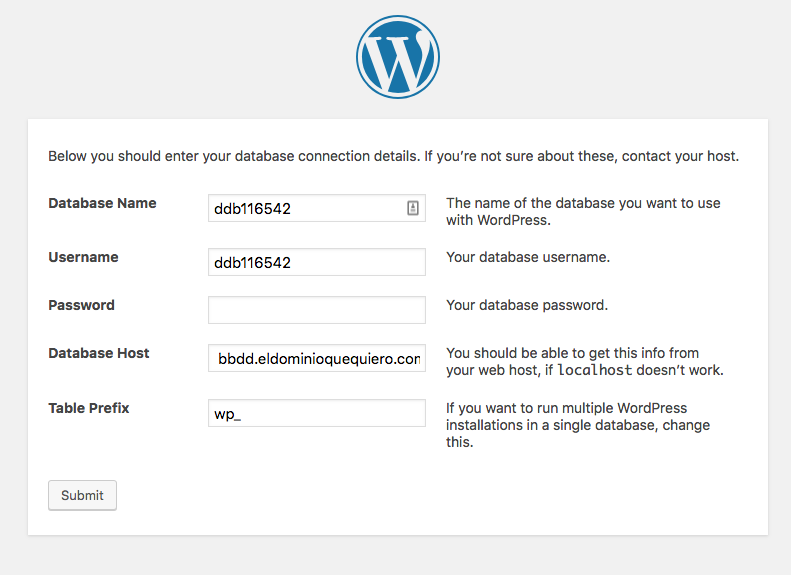
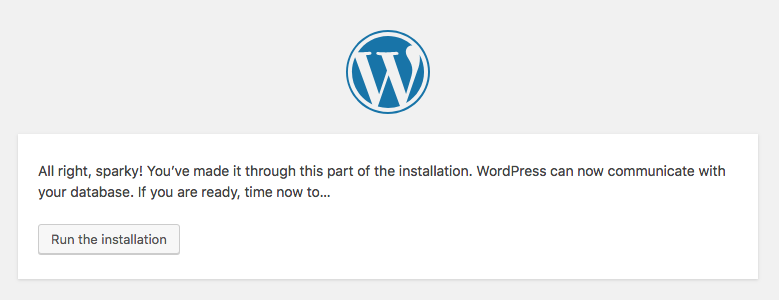
Once you have all the data, click Submit. If the data is correct and WordPress can now connect to the database you will receive the message: Run the installation to start the process.
Now WordPress will require the basic configuration values in order to install the application. All of these values can be modified later from the WordPress management area. The requested values are:
Site Title: your website title
Username: your username on WordPress it will be used to login into your WordPress management area
Password: as the “Username” it is used to login into your WordPress
Your Email: your user email, where you will receive the WordPress advices, password restore, etc.
Search Engine Visibility: allowing you to request to not be indexed on Google, Bing, etc.
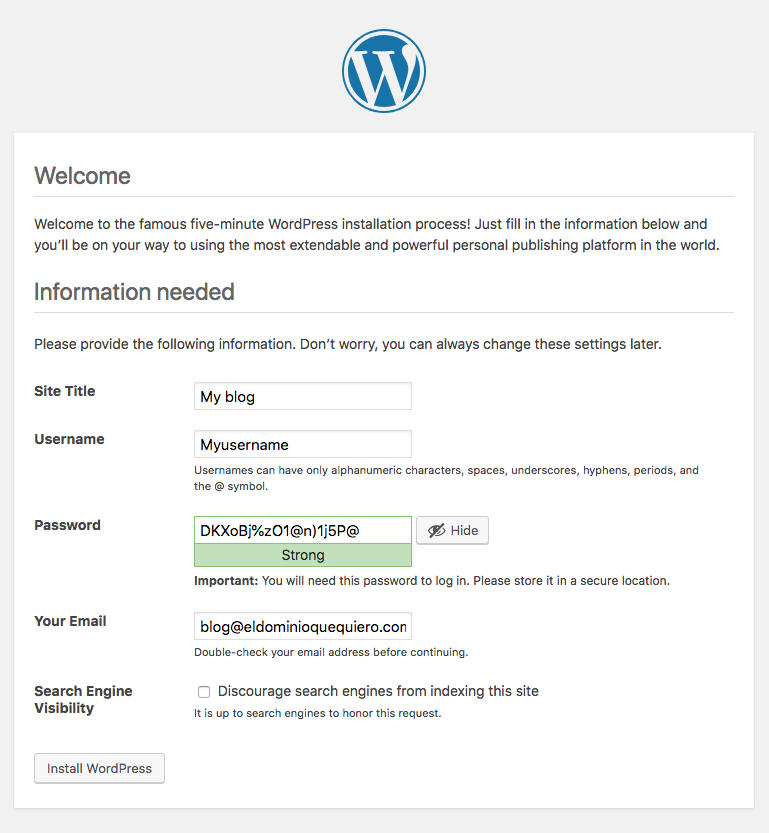
Complete all fields and click the Install WordPress button and the installation will be completed.
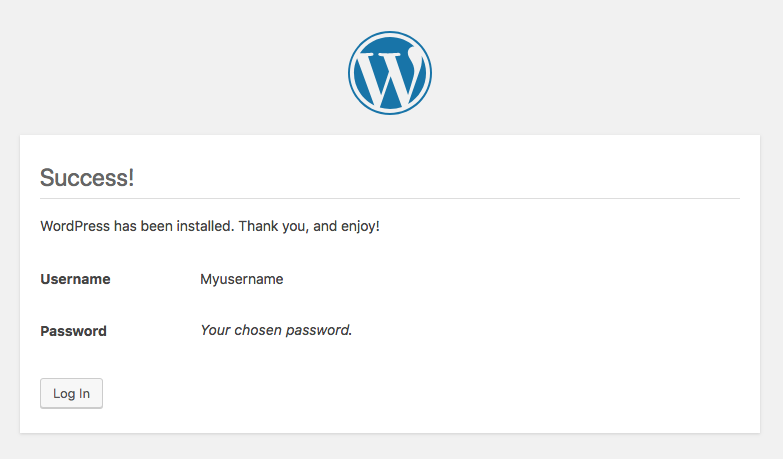
If you click the Log in button you will be redirected to the WordPress login panel where you can introduce your username and password to enter and start working on it.